Night-sky photography is a negotiation between scarce light and constant motion. A longer exposure gathers more photons, yet stars drift across the sensor as Earth rotates. Higher sensitivity brightens the recorded signal, yet it also makes noise and limited dynamic range more visible. Good first images come from balancing those constraints rather than searching for one universal setting.
Stability Before Settings
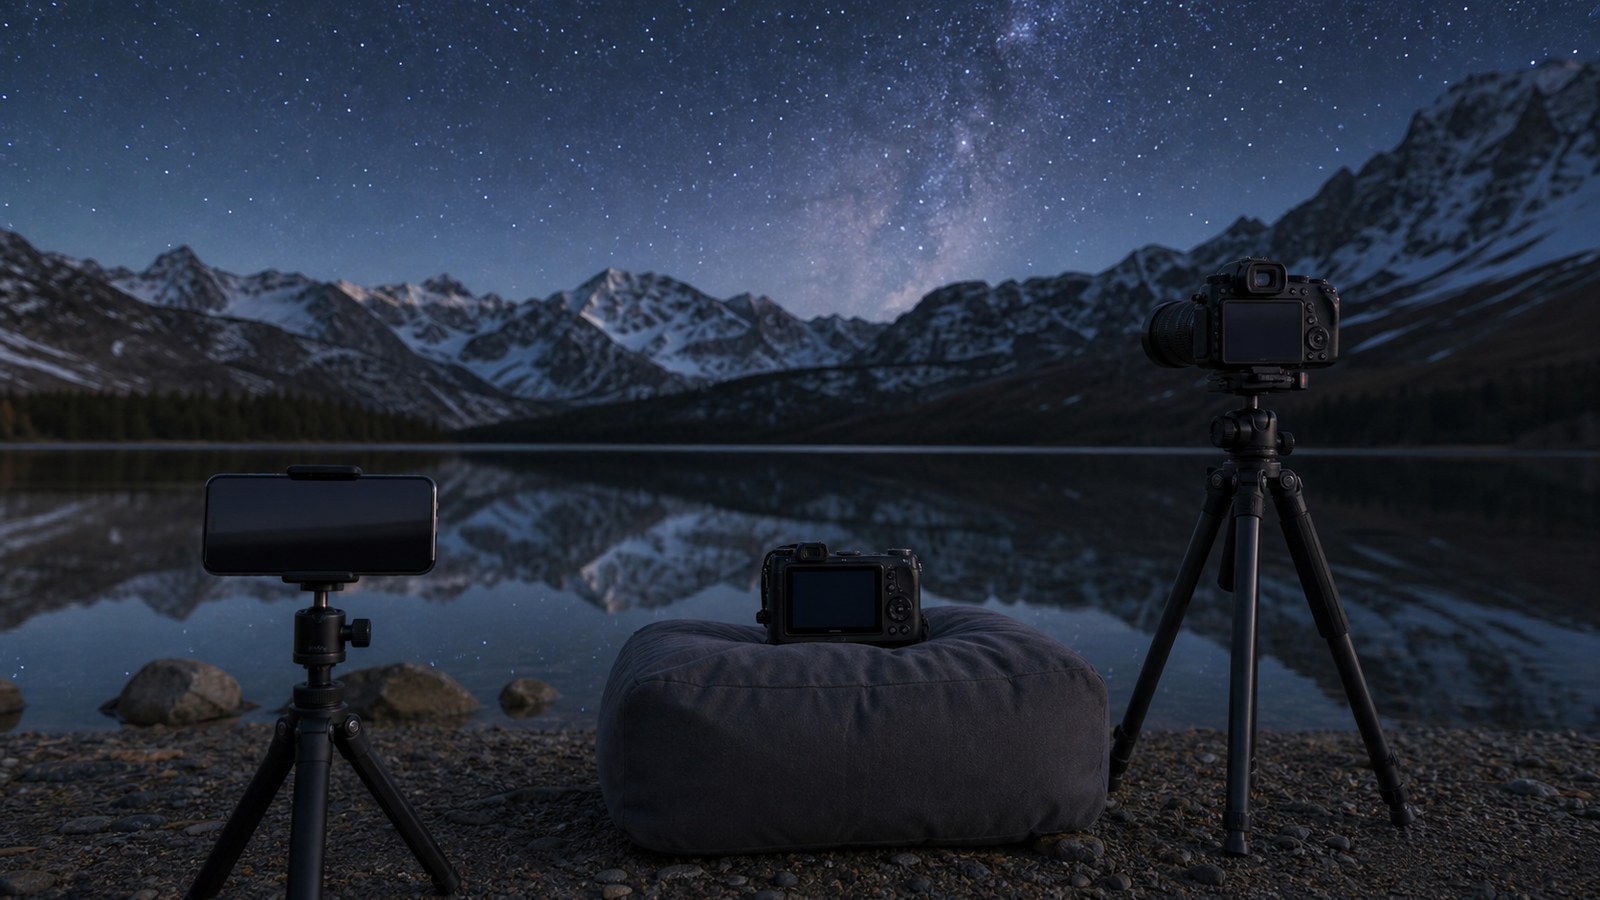
A rigid tripod and vibration-free shutter release improve nearly every night image regardless of camera price. Seen as a workflow problem, the solution becomes more manageable. Tiny movements that are invisible during daylight become enlarged points and streaks during multi-second exposures. Disable lens stabilization on a locked tripod when the manufacturer recommends it, use a timer, and shield the setup from wind. Extending a lightweight tripod's center column often reduces rigidity precisely when long exposures demand more. The most useful response is to observe the result, note the conditions, and adjust one variable at a time. This approach preserves both accuracy and the enjoyment of discovery.
Disable lens stabilization on a locked tripod when the manufacturer recommends it, use a timer, and shield the setup from wind. The safest assumption is that conditions will vary and the plan must adapt. Extending a lightweight tripod's center column often reduces rigidity precisely when long exposures demand more. A rigid tripod and vibration-free shutter release improve nearly every night image regardless of camera price. Tiny movements that are invisible during daylight become enlarged points and streaks during multi-second exposures. The most useful response is to observe the result, note the conditions, and adjust one variable at a time. A second attempt under changed conditions will reveal whether the first result was typical.
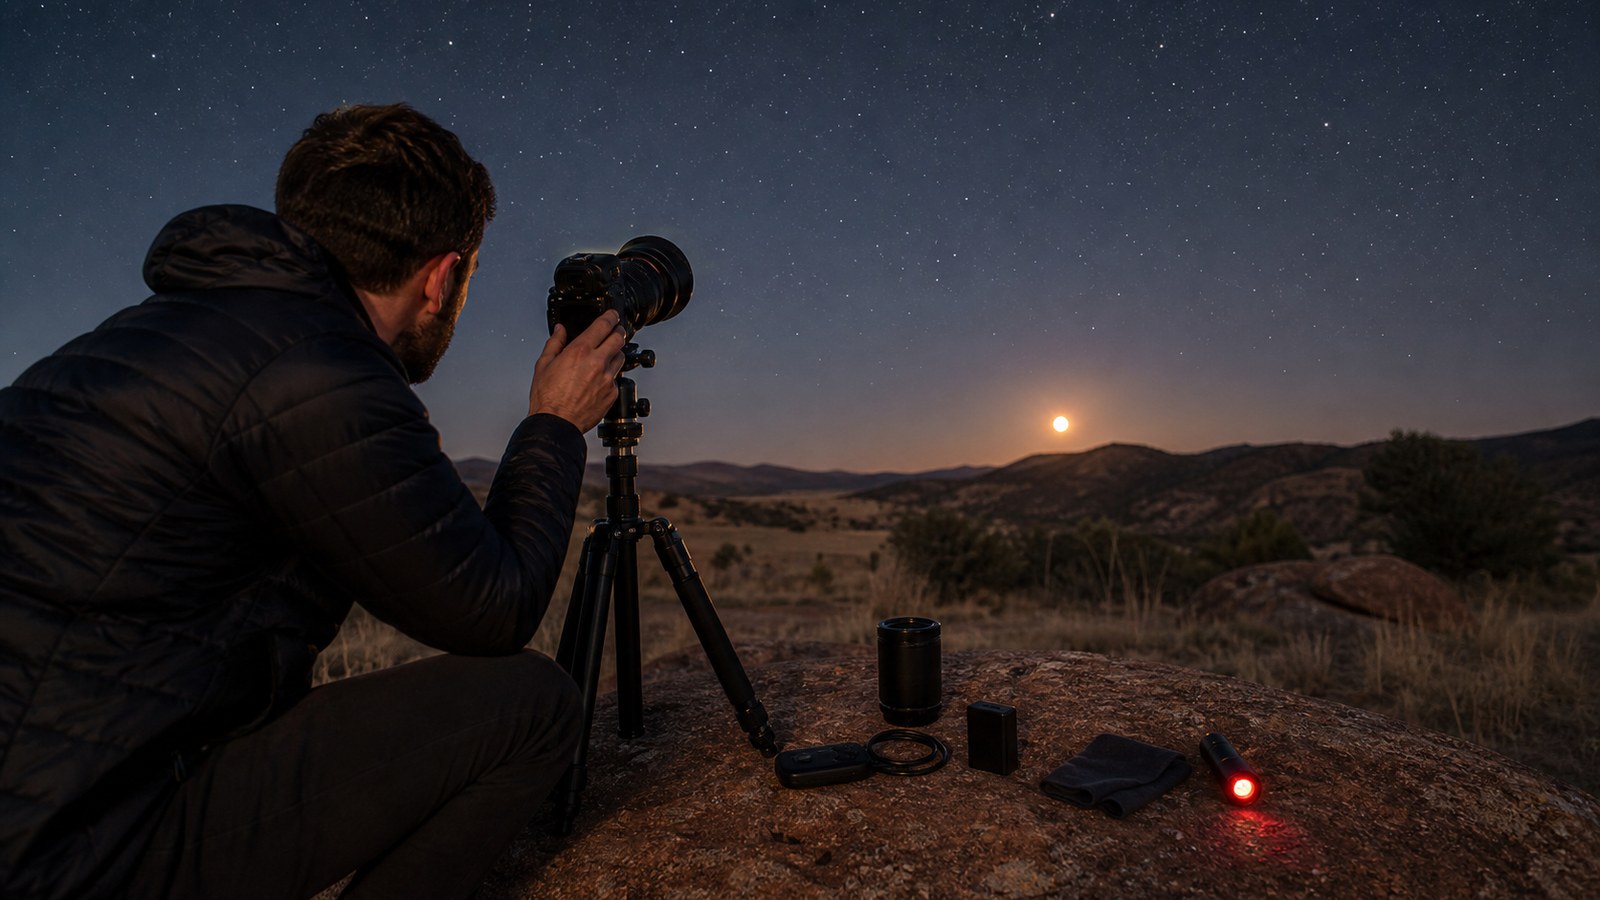
Manual Focus on a Real Star
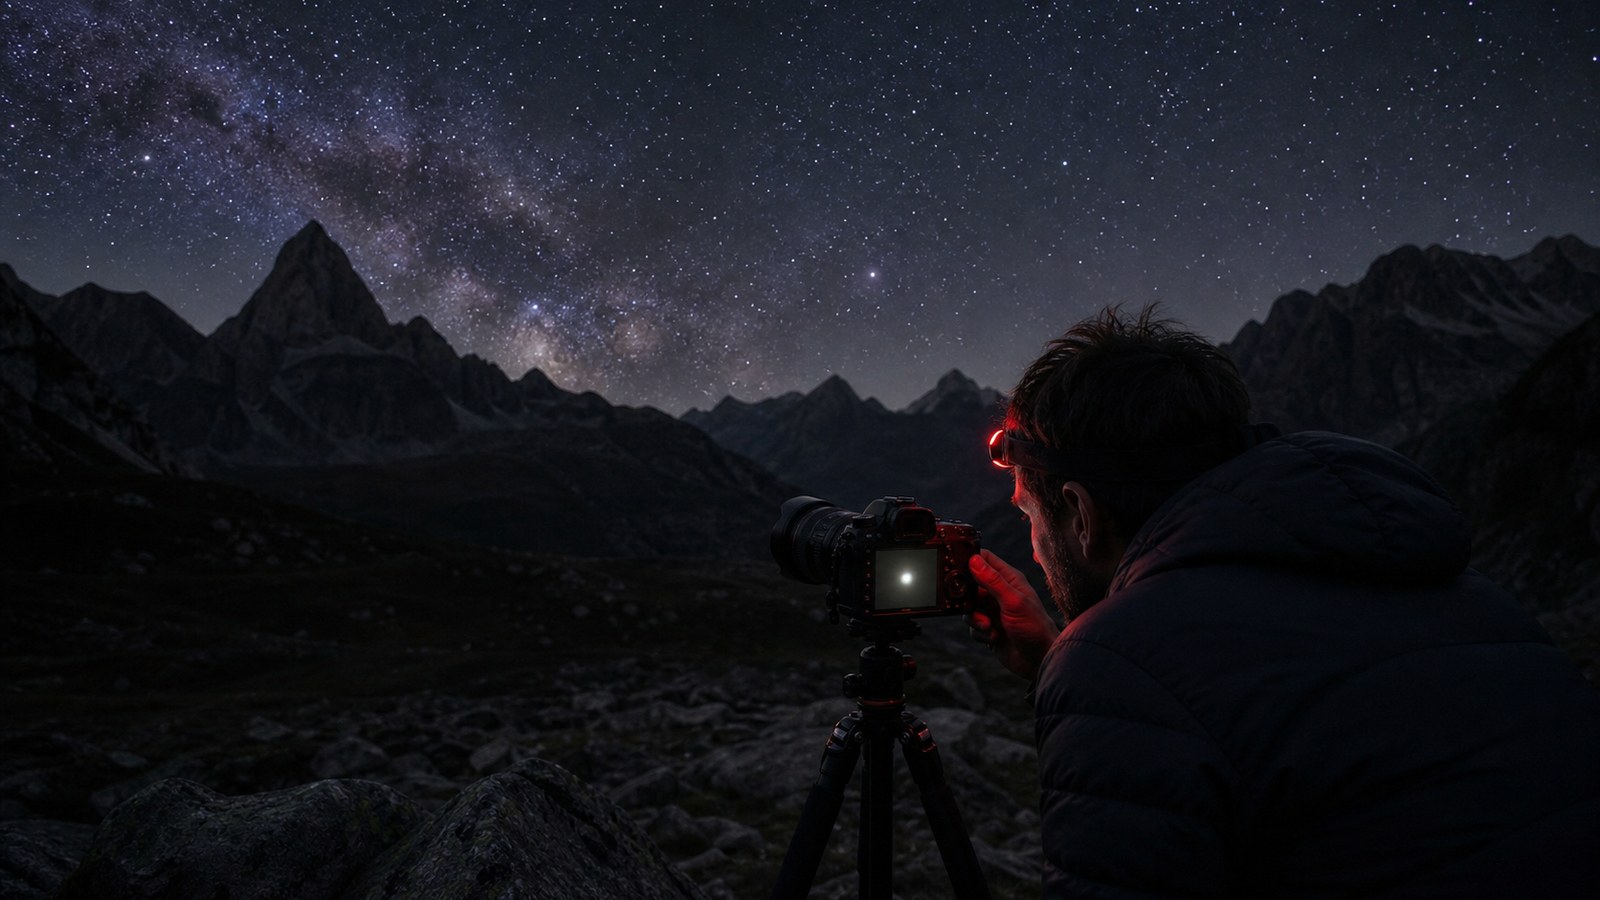
Autofocus frequently fails in darkness, while the infinity mark on a lens is rarely a precise night-focus guarantee. For an observer, the consequence is immediate. Live-view magnification turns a bright star into a focus target; the smallest, crispest point indicates the best setting. Magnify a bright star, adjust focus slowly, tape the ring if needed, and recheck after temperature changes. Judging focus from the camera's full-screen preview can hide slight softness that becomes obvious on a larger display. The most useful response is to observe the result, note the conditions, and adjust one variable at a time. Over time, those small checks become automatic and free attention for finer detail.
Magnify a bright star, adjust focus slowly, tape the ring if needed, and recheck after temperature changes. The strongest evidence comes from what changes when one condition is altered. Judging focus from the camera's full-screen preview can hide slight softness that becomes obvious on a larger display. Autofocus frequently fails in darkness, while the infinity mark on a lens is rarely a precise night-focus guarantee. Live-view magnification turns a bright star into a focus target; the smallest, crispest point indicates the best setting. The most useful response is to observe the result, note the conditions, and adjust one variable at a time. When uncertainty remains, choose the more conservative interpretation and gather another observation.
Balancing Aperture, Shutter, and ISO
Aperture controls light and optical aberrations, shutter time controls both signal and star trailing, and ISO changes amplification rather than the photons collected. The effect may be subtle at first, yet it becomes obvious across several sessions. Wide apertures gather light quickly but may produce coma in corners; longer shutters reveal fainter stars but record Earth's rotation. Begin near the lens's widest usable aperture, test several shutter lengths, and adjust ISO to preserve highlights while lifting the sky. Treating ISO as a substitute for exposure can brighten a dark file without improving its underlying signal-to-noise ratio. The most useful response is to observe the result, note the conditions, and adjust one variable at a time. The same reasoning can then be applied to more difficult targets or environments.
Begin near the lens's widest usable aperture, test several shutter lengths, and adjust ISO to preserve highlights while lifting the sky. The result is not merely aesthetic; it changes what information can be perceived. Treating ISO as a substitute for exposure can brighten a dark file without improving its underlying signal-to-noise ratio. Aperture controls light and optical aberrations, shutter time controls both signal and star trailing, and ISO changes amplification rather than the photons collected. Wide apertures gather light quickly but may produce coma in corners; longer shutters reveal fainter stars but record Earth's rotation. The most useful response is to observe the result, note the conditions, and adjust one variable at a time. The goal is a repeatable result, not a single lucky success.
Predicting Star Trails
The maximum point-like exposure depends on focal length, sensor sampling, sky position, and output size. The practical importance of this point appears in the field. Wide lenses tolerate longer exposures because a given angular movement covers fewer pixels than it does with a telephoto lens. Use the 500 rule only as a starting estimate, inspect stars at high magnification, and shorten the exposure when elongation appears. A single memorized shutter formula cannot account for modern high-resolution sensors or compositions near the celestial equator. The most useful response is to observe the result, note the conditions, and adjust one variable at a time. Keep the observation tied to time, direction, and conditions so it can be compared later.
Use the 500 rule only as a starting estimate, inspect stars at high magnification, and shorten the exposure when elongation appears. Experience tends to confirm the value of a controlled approach. A single memorized shutter formula cannot account for modern high-resolution sensors or compositions near the celestial equator. The maximum point-like exposure depends on focal length, sensor sampling, sky position, and output size. Wide lenses tolerate longer exposures because a given angular movement covers fewer pixels than it does with a telephoto lens. The most useful response is to observe the result, note the conditions, and adjust one variable at a time. This approach preserves both accuracy and the enjoyment of discovery.
Composing With Earth and Sky
A recognizable foreground gives scale and narrative to a field of stars that might otherwise feel visually unanchored. This is less a rule to memorize than a relationship to observe. Low-level silhouettes, reflected light, and leading lines connect the terrestrial scene with the celestial subject. Scout in daylight, level the horizon, preserve dark space around the main sky feature, and avoid unsafe nighttime repositioning. Over-lighting a foreground can destroy atmosphere and create a brightness mismatch that is difficult to repair convincingly. The most useful response is to observe the result, note the conditions, and adjust one variable at a time. That record makes the lesson transferable instead of leaving it as a one-night impression.
Scout in daylight, level the horizon, preserve dark space around the main sky feature, and avoid unsafe nighttime repositioning. A simple check before the session prevents a much harder correction later. Over-lighting a foreground can destroy atmosphere and create a brightness mismatch that is difficult to repair convincingly. A recognizable foreground gives scale and narrative to a field of stars that might otherwise feel visually unanchored. Low-level silhouettes, reflected light, and leading lines connect the terrestrial scene with the celestial subject. The most useful response is to observe the result, note the conditions, and adjust one variable at a time. Over time, those small checks become automatic and free attention for finer detail.
Processing Without Erasing the Night
Raw development should reveal weak signal while preserving natural gradients, star color, and believable darkness. The safest assumption is that conditions will vary and the plan must adapt. White balance, lens correction, noise reduction, and local contrast interact; aggressive adjustments can create halos or blotchy skies. Correct the lens first, set neutral color, reduce noise moderately, and compare the result with the visual character of the scene. Removing every trace of noise often removes faint stars and texture, producing a plastic sky with false smoothness. The most useful response is to observe the result, note the conditions, and adjust one variable at a time. A second attempt under changed conditions will reveal whether the first result was typical.
Correct the lens first, set neutral color, reduce noise moderately, and compare the result with the visual character of the scene. Planning improves once this constraint is treated as part of the system. Removing every trace of noise often removes faint stars and texture, producing a plastic sky with false smoothness. Raw development should reveal weak signal while preserving natural gradients, star color, and believable darkness. White balance, lens correction, noise reduction, and local contrast interact; aggressive adjustments can create halos or blotchy skies. The most useful response is to observe the result, note the conditions, and adjust one variable at a time. The same reasoning can then be applied to more difficult targets or environments.
Wide apertures gather light quickly but may produce coma in corners; longer shutters reveal fainter stars but record Earth's rotation. At night, small operational choices can produce large differences. Begin near the lens's widest usable aperture, test several shutter lengths, and adjust ISO to preserve highlights while lifting the sky. Treating ISO as a substitute for exposure can brighten a dark file without improving its underlying signal-to-noise ratio. Aperture controls light and optical aberrations, shutter time controls both signal and star trailing, and ISO changes amplification rather than the photons collected. The most useful response is to observe the result, note the conditions, and adjust one variable at a time. Keep the observation tied to time, direction, and conditions so it can be compared later.
White balance, lens correction, noise reduction, and local contrast interact; aggressive adjustments can create halos or blotchy skies. Real conditions rarely isolate one factor, so context must remain visible. Correct the lens first, set neutral color, reduce noise moderately, and compare the result with the visual character of the scene. Removing every trace of noise often removes faint stars and texture, producing a plastic sky with false smoothness. Raw development should reveal weak signal while preserving natural gradients, star color, and believable darkness. The most useful response is to observe the result, note the conditions, and adjust one variable at a time. When uncertainty remains, choose the more conservative interpretation and gather another observation.
White balance, lens correction, noise reduction, and local contrast interact; aggressive adjustments can create halos or blotchy skies. This is less a rule to memorize than a relationship to observe. Correct the lens first, set neutral color, reduce noise moderately, and compare the result with the visual character of the scene. Removing every trace of noise often removes faint stars and texture, producing a plastic sky with false smoothness. Raw development should reveal weak signal while preserving natural gradients, star color, and believable darkness. The most useful response is to observe the result, note the conditions, and adjust one variable at a time. That record makes the lesson transferable instead of leaving it as a one-night impression.
A Practical Next Session
A reliable first workflow is simple: stabilize the camera, focus on a bright star, test the exposure triangle, inspect for trailing, compose deliberately, and process with restraint. Save the test frames and settings, because their failures contain the fastest lessons. Each session should change one variable at a time so improvement remains measurable.