A distant planet you can identify without a spectacular view
You can observe Neptune from Earth, but the experience is very different from looking at Saturn’s obvious rings or Jupiter’s bright disk. Neptune is too faint for ordinary unaided-eye viewing, and it occupies only a tiny patch of sky even through a telescope. Optical aid can reveal its light; careful planning establishes that the faint target is actually the planet. The most satisfying first observation is often a reliable identification, perhaps followed by recognition of a small disk under favorable conditions. That goal makes the preparation straightforward: choose a suitable night, obtain a current position for your location, match the surrounding star field, and use magnification the atmosphere can support. A famous spacecraft photograph is useful background knowledge, but it is not a fair prediction of what a backyard eyepiece will show.
Brightness and apparent size are separate obstacles
Neptune shines at roughly eighth magnitude, with the exact value depending on observing geometry. That puts it below the usual unaided-eye range even under a dark sky. Binoculars can sometimes detect its light as a starlike point when conditions and field identification are favorable. A telescope makes the search more practical and offers the possibility of recognizing its tiny angular disk. These are different achievements: detecting a point of light does not mean resolving the physical outline of the planet.
The disk is only a few arcseconds across, enormously smaller in apparent diameter than the Moon. Its physical size is substantial, but its great distance reduces the angle it occupies from Earth. A modest image enlargement can help separate it from nearby stars, while atmospheric blur can obscure the difference. Looking for a large richly textured blue ball therefore sets the wrong task. The NASA guide to Neptune at opposition describes the small, elusive view realistically.
Use a current position instead of an old finder picture
Neptune moves relative to the background stars, slowly enough that the same broad region can remain relevant for a while but not so slowly that an old chart is indefinitely reliable. Its apparent path also includes retrograde motion as Earth and Neptune change their relative orbital geometry. A chart tied to the observing date is essential. The planet may be close to a convenient bright reference on one occasion and far from it later, so a historical conjunction is not a permanent locating instruction.
Your location and time also determine whether the target is above the horizon and how high it stands. Planetarium software can display an observing view when these settings are correct. For a primary astronomical reference, JPL Horizons provides calculated positions and observing quantities. You do not need to turn a beginner’s session into a navigation project, but you should understand what the chart assumes. An accurate planet position cannot help if the display is set to another date or hemisphere.
Take special care with the orientation of the field. Different telescopes can show rotated, inverted, or mirrored views depending on their optics and accessories. A phone display set to the unaided-eye sky may therefore disagree with the eyepiece even when both depict the correct stars. Practice recognizing a small distinctive pattern and its relative separations. Once the field orientation is understood, matching several stars becomes much more dependable than deciding that one vaguely blue point must be Neptune.
A tracking mount or automated pointing system can reduce the manual search, but its indicated target name is not observational proof. Alignment errors, incorrect setup, or a narrow field can leave the actual planet outside the eyepiece. Use the surrounding star pattern to confirm the result even when electronics make the initial move. That small verification step is especially valuable for Neptune, because the expected image is inconspicuous enough that a misplaced stellar point can seem plausible to an inexperienced observer.
Opposition improves the opportunity without creating one magic night
At opposition, Neptune lies opposite the Sun in Earth’s sky and is available through much of the night. Around this period it reaches a favorable combination of distance, illumination, and observing time. The weeks surrounding opposition can consequently provide useful opportunities; a cloudy exact date does not ruin the whole season. Conditions at your observing site may matter more than a tiny brightness difference between nearby dates. Consult a current annual ephemeris rather than assuming a historical opposition date applies to the year you are observing.
Height above the horizon matters to a tiny disk
A target low in the sky sends its light through more of Earth’s atmosphere, where turbulence and dispersion can make a tiny planetary image less distinct. Observing nearer the target’s highest elevation is often helpful, though that height depends on latitude and Neptune’s position. The term seeing refers to the steadiness of the image; transparency refers to how well the atmosphere transmits light. A clear night can have poor seeing, and an apparently calm surface breeze does not guarantee stable air along the whole light path.
Local surroundings add another source of disturbance. Roofs, pavement, and walls can release heat after sunset, placing turbulent air in the direction of the target. A safe location with a clear view above open ground can improve the experience without changing the telescope. Avoid judging the planet from a line of sight just above a warm roof if another position is available. Earth’s atmosphere is part of the optical system in practice, even though it is not a component sold with the instrument.
A dark background is useful for identifying faint stars and navigating the field. Bright moonlight and nearby unshielded lamps can make the search harder, especially with binoculars or a small finder. Darkness does not automatically sharpen Neptune’s disk, but it improves contrast and the visibility of locating stars. NASA’s explanation of atmospheric effects on telescopes provides the broader physical context for why ground-based views change from night to night.
For a first attempt, choose a fully dark period when Neptune is well separated from the Sun and comfortably above obstructions. Twilight planet groupings may be attractive photographs, but they are a poor introduction to a faint, difficult target. Do not sweep with binoculars or a telescope near the Sun. Waiting for a clearly dark nighttime opportunity simplifies both safe aiming and field recognition, allowing attention to remain on the intended distant planet.
Find the field at low power first
Start with a low-power eyepiece that shows a reasonably wide field. If using a finder, align it with the main telescope beforehand on a suitable distant object and confirm the alignment during nighttime use. A tiny aiming error can place Neptune outside a narrow high-power field, producing needless searching. The first task is not to maximize apparent size. It is to establish that the instrument is pointing to the right part of the sky and that the surrounding pattern matches the chart.
Move through identifiable stellar patterns rather than jumping blindly between isolated points. A short chain of stars with recognizable spacing can anchor the search even when the planet itself looks inconspicuous. Keep the chart’s limiting magnitude appropriate to what the instrument actually shows; too few plotted stars remove useful references, while a densely crowded display can overwhelm a beginner. If the field fails to match, return to a reliable anchor and reorient. Guessing repeatedly at blue-looking points is slower than rebuilding the positional evidence.
Increase power only while the view improves
Once the candidate is located, moderately higher magnification can help distinguish its disk from stellar points. As an illustrative benchmark, the British Astronomical Association’s visual observing guide recommends a six-inch, roughly 150-millimeter, telescope or larger and around 200-times magnification for a clearly resolved Neptune disk. This is a disk-viewing goal under suitable conditions, not the minimum instrument needed to detect the planet’s light. With a telescope of 1,000-millimeter focal length, a 10-millimeter eyepiece gives 100-times magnification and a 5-millimeter eyepiece gives 200-times, calculated by dividing the telescope focal length by the eyepiece focal length. Begin with the wider view, confirm the field, and test whether the higher power actually improves the disk. If seeing turns it into a dimmer, unstable blur, return to the lower power; a numerical benchmark cannot make the atmosphere cooperate.
Confirm identity through position and repeated observation
Neptune’s color can be a helpful secondary impression, but it is a weak sole identifier. Subtle blue-green appearance varies with instrument, brightness, vision, and conditions, and some stars can also seem colored. Exact field position provides stronger evidence. Match the candidate’s location against several surrounding stars, then check whether its apparent form differs from the stellar points under stable focus. A star distorted by seeing should not be promoted to a planet just because it looks briefly round.
A return visit supplies a particularly satisfying confirmation. Record the candidate’s position relative to nearby stars and compare it with a chart for the later date. Neptune’s movement should agree with its predicted path, while the distant stellar pattern remains effectively fixed for this purpose. Choose a sufficient interval for the displacement to be recognizable rather than expecting a dramatic change within minutes. This is a small version of a central astronomical method: a predicted positional change tests the identification.
Written observations can be simple and useful. Record date, approximate time, location, instrument, eyepiece, sky conditions, and the stars used for the match. A rough sketch of relative positions often preserves the key evidence better than a vivid color adjective. On a later night, those details explain whether a different-looking view arose from atmosphere, setup, or genuine positional change. The record turns one uncertain glimpse into a sequence that you can evaluate and share with an astronomy club.
Know which details are ambitious
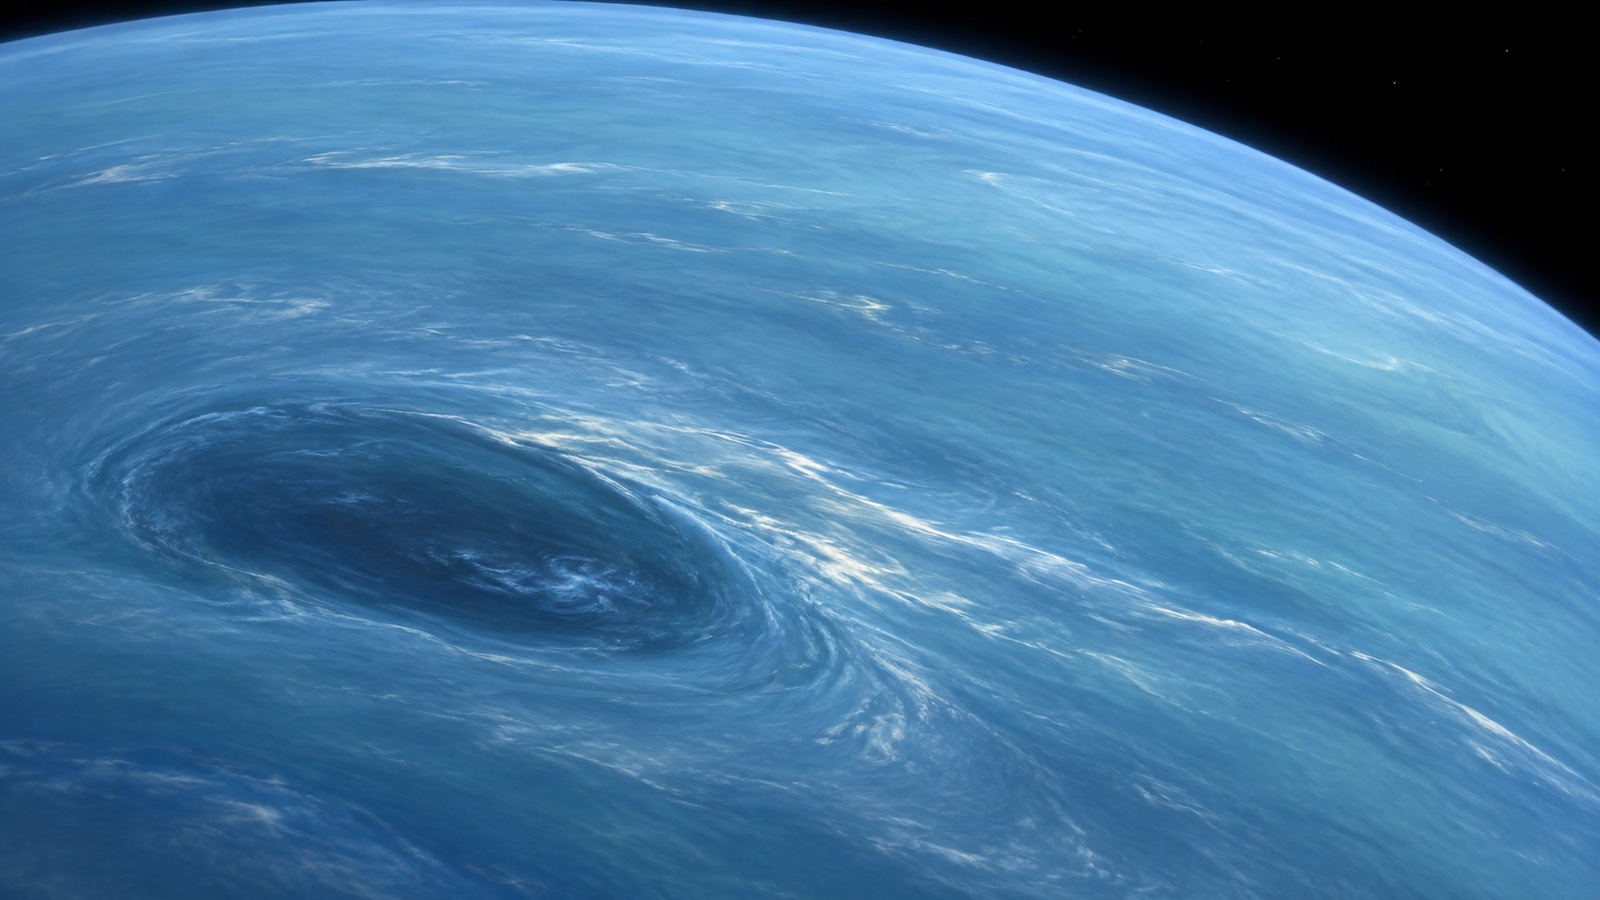
Neptune’s dark vortices, bright cloud systems, rings, and small moons are important scientific targets, but they are not ordinary beginner eyepiece features. Professional images use large apertures, sensitive detectors, specialized wavelengths, careful processing, and sometimes space-based observing. Seeing a modest disk from the ground does not grant access to everything pictured in a mission gallery. Keep those images as information about the object you have identified, while judging your own view by realistic optical conditions.
Triton may be a separate challenge for experienced observers using appropriate equipment and a precise moon-position reference. It is much fainter than Neptune and close to the planet’s glare. Failure to notice it does not mean the main observation failed. The same restraint applies to photography: a camera can record light differently from the eye, and processing can accentuate faint features. A published high-resolution image should not be treated as a promise that an inexpensive eyepiece will provide an identical scene.
A successful evening ends with a reliable answer
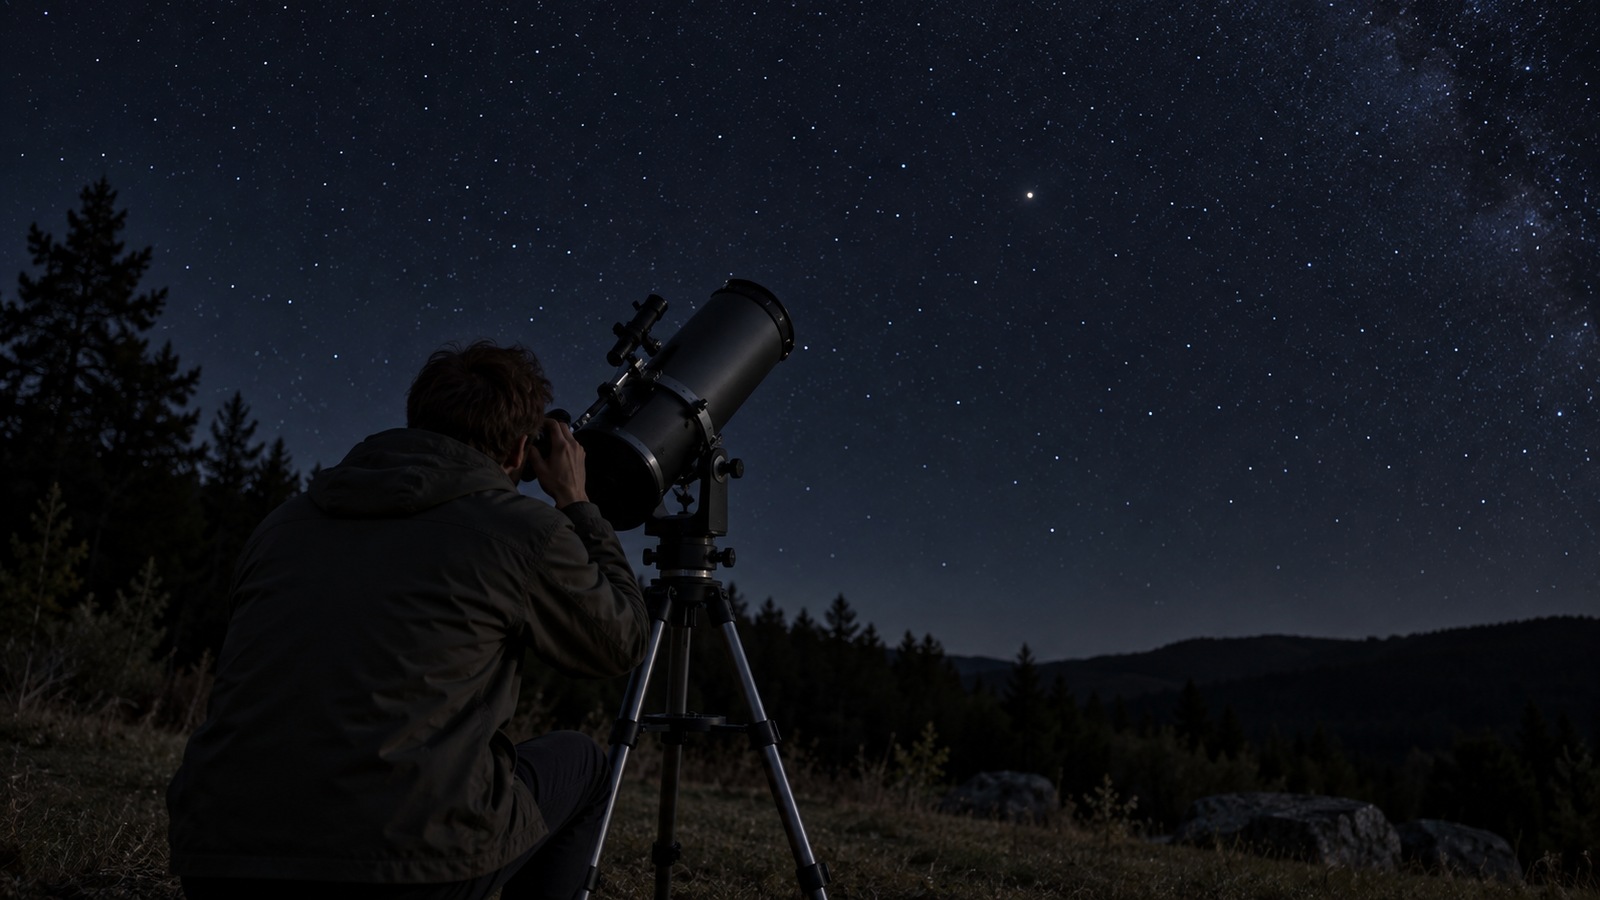
If you already own binoculars, a cautious dark-sky attempt with a current chart can be worthwhile, but a starlike detection leaves field identification essential. If you have access to a telescope, concentrate on stability, chart matching, and appropriate power before considering new equipment. An astronomy club can help with the unfamiliar orientation and tiny disk. NASA’s Night Sky Network discussion of binocular observing is a useful starting point for understanding what optical aid can accomplish without demanding an immediate purchase.
A failed first search often reflects the practical combination of poor height, incorrect time settings, an unaligned finder, or unfamiliar star patterns. Changing those conditions can be more productive than merely increasing magnification. Select another dark night, verify the chart, and try a shorter, more deliberate search. The sky offers repeated opportunities around a suitable season. Patience is especially useful for a planet whose visual reward is restrained but whose physical distance makes the identification remarkable.
When the position, field pattern, and perhaps a repeat observation agree, you have seen Neptune from Earth. Its light has crossed a vast distance before entering a small backyard instrument, even if the final view is only a subtle disk or point. The achievement is not diminished by its modest appearance. A reliable observation connects your own measurements with the same orbit and planetary system studied by much larger instruments, providing an accessible way to make the solar system more concrete.