Compare Space Telescopes Through an Earthbound Lens
James Webb vs Hubble: What You Can Actually See From Earth is most useful when it connects a big astronomy story to what a real reader can do under the sky. The headline may involve a famous telescope, a peak meteor night, or a deep-space discovery, but the practical question is smaller and better: where should I look, when should I try, and what should I expect to see with ordinary eyes or backyard gear? This guide keeps that distinction clear so the science stays exciting without promising an impossible view.
Start With the Real Viewing Goal
James Webb vs Hubble: What You Can Actually See From Earth is most useful when it connects a big astronomy story to what a real reader can do under the sky. The practical goal is to decide what a person on Earth can do with that information tonight, this month, or during the next clear season. A strong explainer keeps the telescope science exciting while staying honest about the limits of backyard viewing. Most Webb targets are not objects you will see in the same way Webb sees them, yet many sit in constellations, nebula regions, or galaxies that can still guide a rewarding night outside.
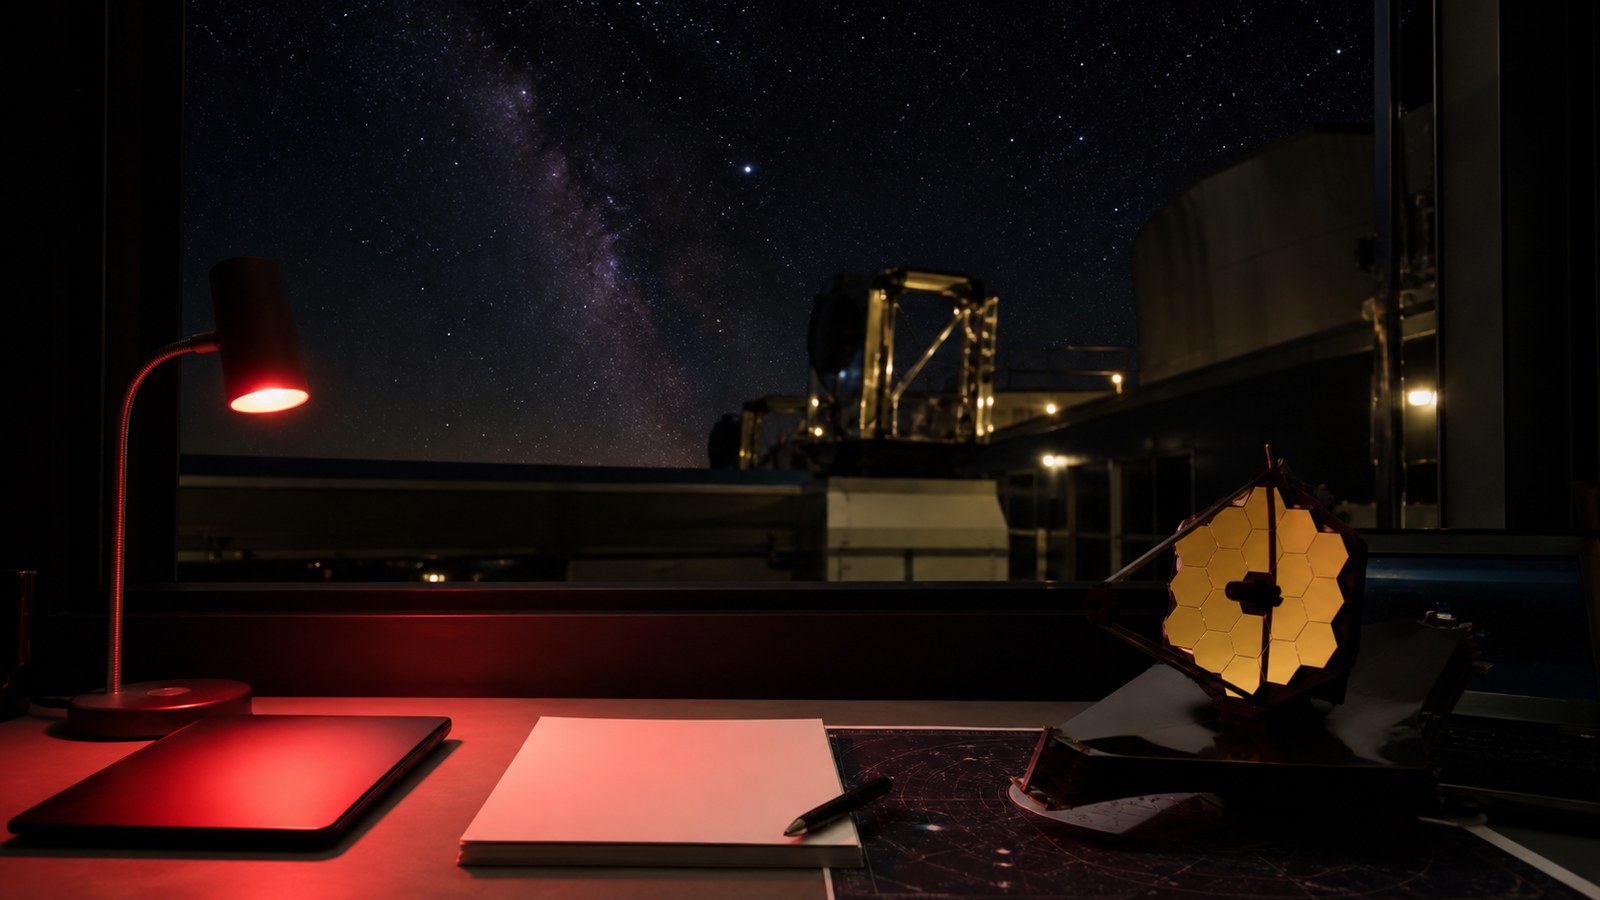
For a Webb and Hubble skywatching comparison, the best reader experience is a bridge between the professional observatory and the familiar sky. Webb works in infrared from deep space, using instruments and exposure strategies far beyond a home telescope. A reader with binoculars or a small scope can still learn where an object belongs, why scientists care about it, and what part of the sky carries the story.
Separate Webb Images From Eyepiece Views
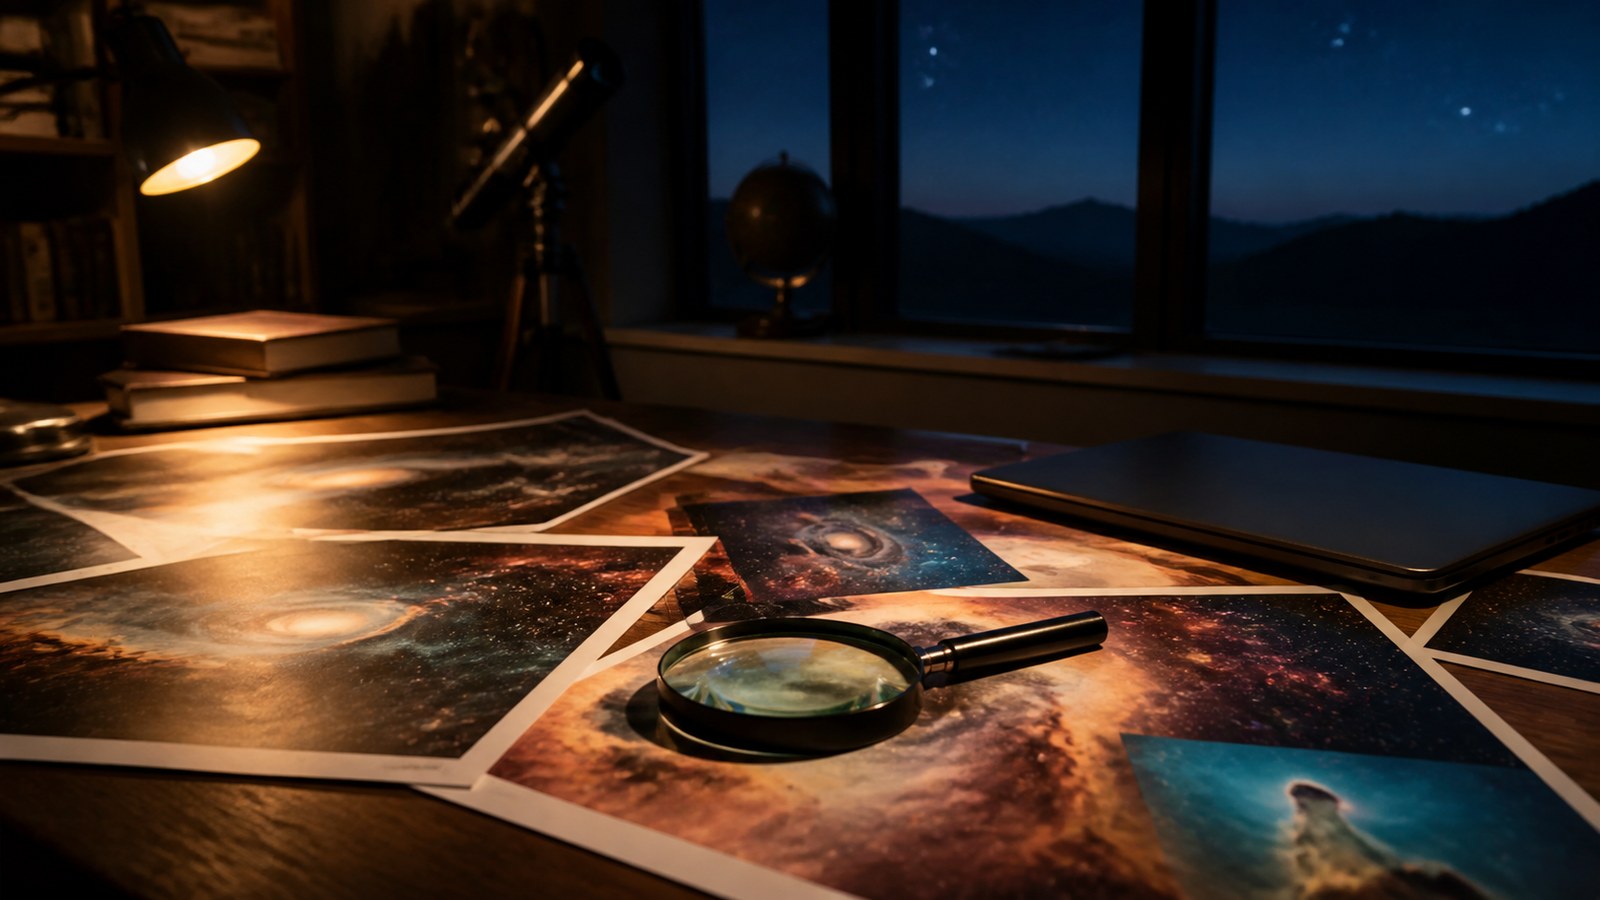
The first distinction is visual honesty. Webb images are processed scientific observations, often combining infrared wavelengths that human eyes cannot directly see. Color choices can reveal chemistry, dust, temperature, or structure rather than a literal naked-eye color. That does not make the images fake. It means they are translations from instrument data into a form people can study, compare, and remember.
An eyepiece view is different. It gathers visible light through the atmosphere, usually with far less aperture and far less exposure time. A galaxy that looks rich and detailed in a Webb release may appear as a faint smudge from a dark site. A nebula that glows with sculpted dust in infrared may be invisible from a light-polluted backyard. Knowing that difference prevents disappointment and makes the real view more impressive, not less.
The useful question is not whether a backyard view can match Webb. It cannot. The better question is whether Webb can tell you where to look, what story the object carries, and why a faint patch of sky deserves attention. That is where a public discovery becomes a personal observing target.
Use Constellations as the Map
Most readers do not need spacecraft coordinates to begin. They need a seasonal constellation, a bright anchor star, and a realistic sense of altitude above the horizon. Once the object’s sky neighborhood is clear, a planetarium app, printed atlas, or go-to telescope can narrow the search. This keeps the guide useful for beginners without pretending every Webb subject is easy to observe.
Match the Target to the Tool
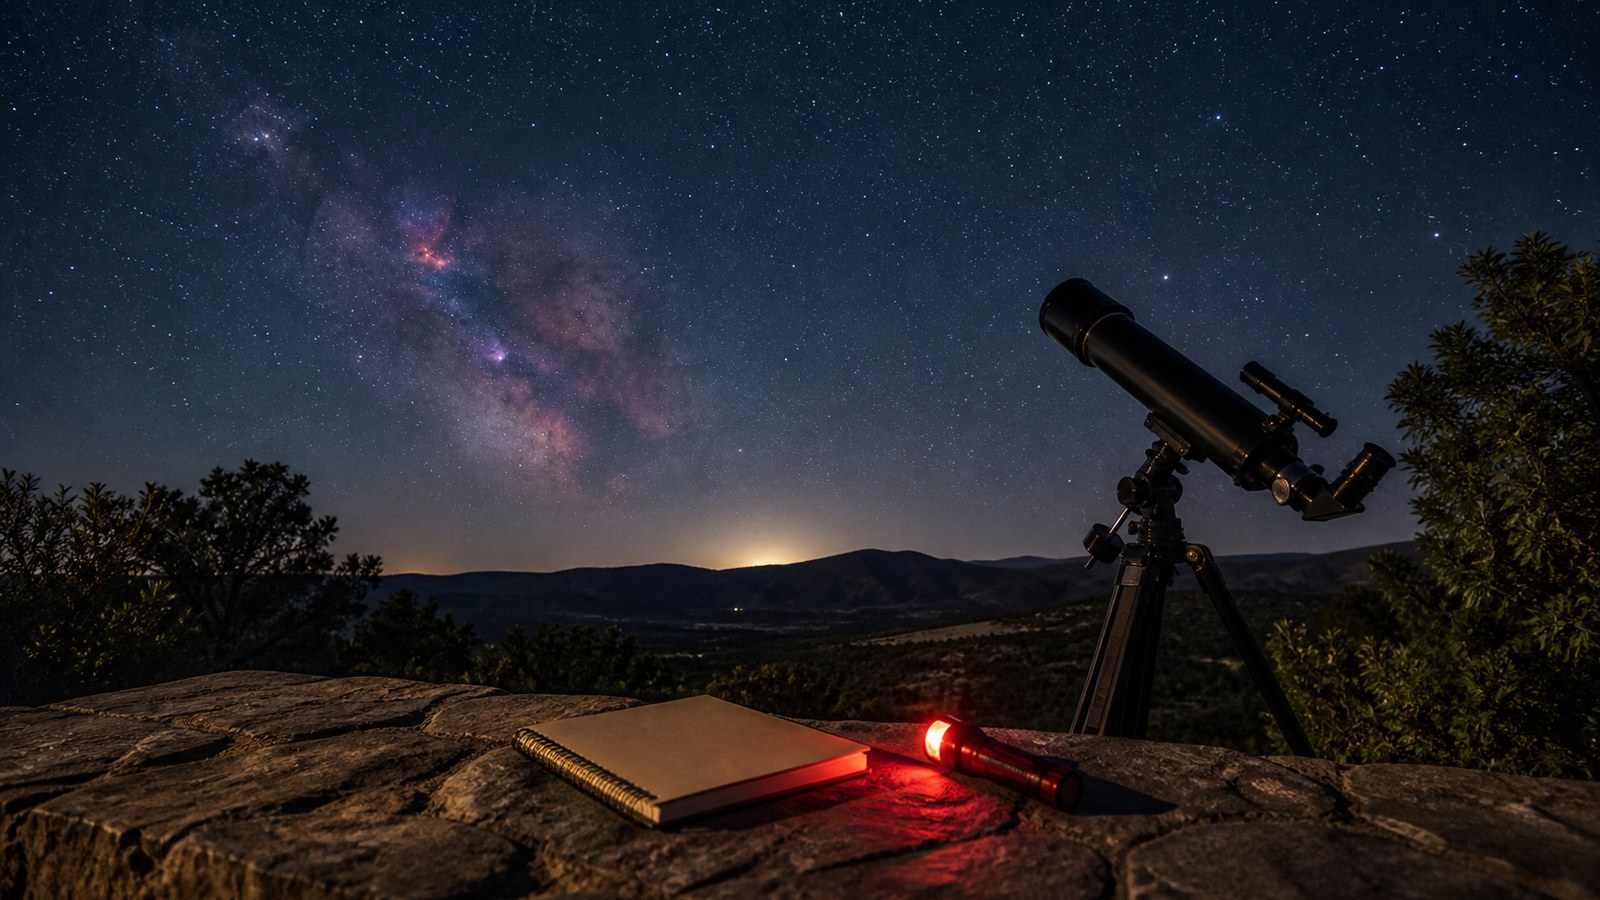
A naked-eye observer can enjoy the constellation context, meteor activity, planets, and the Milky Way backdrop around a Webb target. Binoculars can widen the experience by showing star fields, clusters, and brighter nebula regions. Small telescopes can reveal lunar craters, planets, double stars, and some deep-sky objects, while cameras can collect faint light over time. Each tool changes the kind of success available.
That range matters because Webb often studies objects that are too faint, too distant, or too infrared for ordinary viewing. A guide should say so plainly, then offer a satisfying alternative: find the host constellation, observe a brighter nearby object, compare Webb’s image with a visible-light view, or use the target as a reason to learn a new patch of sky.
Read the Science Without Getting Lost
Webb stories often include instruments, filters, spectra, redshifts, molecules, dust lanes, or exoplanet atmospheres. Readers do not need to master all of that at once. Start with the plain claim: what changed because Webb observed this target? Then add one layer: which feature in the image or data supports that claim? Finally, connect it to the night sky so the science has a place in memory.
Spectroscopy deserves special patience. Many Webb discoveries come less from pretty pictures than from splitting light into patterns that reveal chemistry, motion, or temperature. That work may not produce a dramatic view through a backyard telescope, but it is often where the telescope’s deepest value appears. A faint star with an exoplanet can become more meaningful once you know Webb is reading the fingerprints of materials around it.
The most rewarding approach is slow comparison. Look at the Webb release, then look up a visible-light image, then find the object’s location in the sky. Each layer changes the object from an isolated online picture into a real destination in the universe.
Plan a Night Around the Story
A Webb-inspired observing night works best when it has one main theme. That theme might be star birth, galaxy structure, planetary systems, or the difference between infrared and visible light. Choose one target family, find when that region is high, and build the session around nearby objects that are actually observable. The result feels connected rather than random.
Keep Expectations Generous and Accurate
Accuracy is what lets wonder survive contact with reality. Webb’s discoveries are extraordinary, but the backyard sky has its own quieter strengths: scale, patience, darkness, and the knowledge that the faint object in view belongs to the same universe as the image on the screen. When the guide makes that relationship clear, readers do not feel tricked by the difference between data and eyepiece. They feel invited into both.
That invitation is the heart of this topic. Webb expands what scientists can measure, while ordinary skywatching expands what a person can notice. Put those together and a night under the stars becomes more informed, more specific, and more alive.
Local Conditions Change the Advice
A strong james webb vs hubble what plan also leaves room for the reader's location. Mountains, coasts, suburbs, deserts, and humid river valleys all change how much sky is usable, even when the date on the calendar is the same. The practical move is to choose the darkest safe direction, then compare that choice with the Moon and the target's height. This keeps the advice grounded in the night the reader actually has, not an idealized observatory sky.
Define Success Before the Session
The second useful habit is to decide what success will look like before leaving home. For one reader it may be seeing a single bright meteor, for another it may be understanding why a Webb image uses infrared color, and for another it may be learning a new constellation. When the goal is clear, the session feels less like waiting for perfection and more like participating in a larger sky story.
Comfort deserves the same respect as science. Cold ground, insects, fatigue, glare, or an awkward viewing angle can end a session long before the sky has a fair chance to perform. A prepared observer brings layers, water, a stable chair or pad, and a way to keep white light out of the eyes. Those small choices often decide whether the night lasts fifteen minutes or becomes memorable.
Keep the Plan Flexible
Timing should stay flexible because astronomy guides are written for many locations at once. Universal times, local dates, moonrise, twilight, and weather rarely line up neatly for everyone. The reader should treat the stated date as the center of a decision, then test the neighboring hours and nights. A slightly less perfect forecast under a transparent sky can outperform the official moment under haze or glare.
Turn Curiosity Into a Record
It is also worth separating inspiration from evidence. A dramatic image, peak-rate forecast, or mission headline may spark interest, but the observing plan should still ask what can be confirmed from the ground. That might mean finding the constellation, comparing visible and infrared views, noting the direction of a meteor radiant, or simply recognizing why a faint object matters. The experience becomes richer when the expectation is accurate.
Readers who return to the topic later benefit from a simple record. Write down the date, place, sky condition, Moon situation, equipment used, and what was actually seen or learned. Those notes make the next session easier to plan and help separate a poor sky from a poor strategy. Over time, the reader builds a personal observing history instead of starting from zero with every new article.
Make the Next Step Easy
The final recommendation is deliberately modest: make the next step easy enough to do. Check the sky, choose a safe place, reduce glare, and give the experience enough time. Whether the subject is a meteor shower or a Webb target, the best guide is the one that turns curiosity into a real look upward. The universe is generous, but it rewards the reader who arrives prepared and patient.
Know When to Wait
The reader should also know when not to force the outing. If clouds thicken, the Moon dominates the best direction, or the only available site feels unsafe, postponing is a sound observing choice. Astronomy rewards repeat attempts more than heroic inconvenience. A missed night near one peak can become a better session on the next clear evening, especially when the event has a broad window or a related target remains visible for weeks.
For families and casual groups, the plan works better when one person quietly handles the logistics. That person can check the forecast, choose the direction, pack the red light, and explain why the sky may be quiet for stretches. The group can then relax instead of debating every pause. Shared patience is easier when everyone understands that the next bright streak may arrive without warning.
Let the Camera Support the Watch
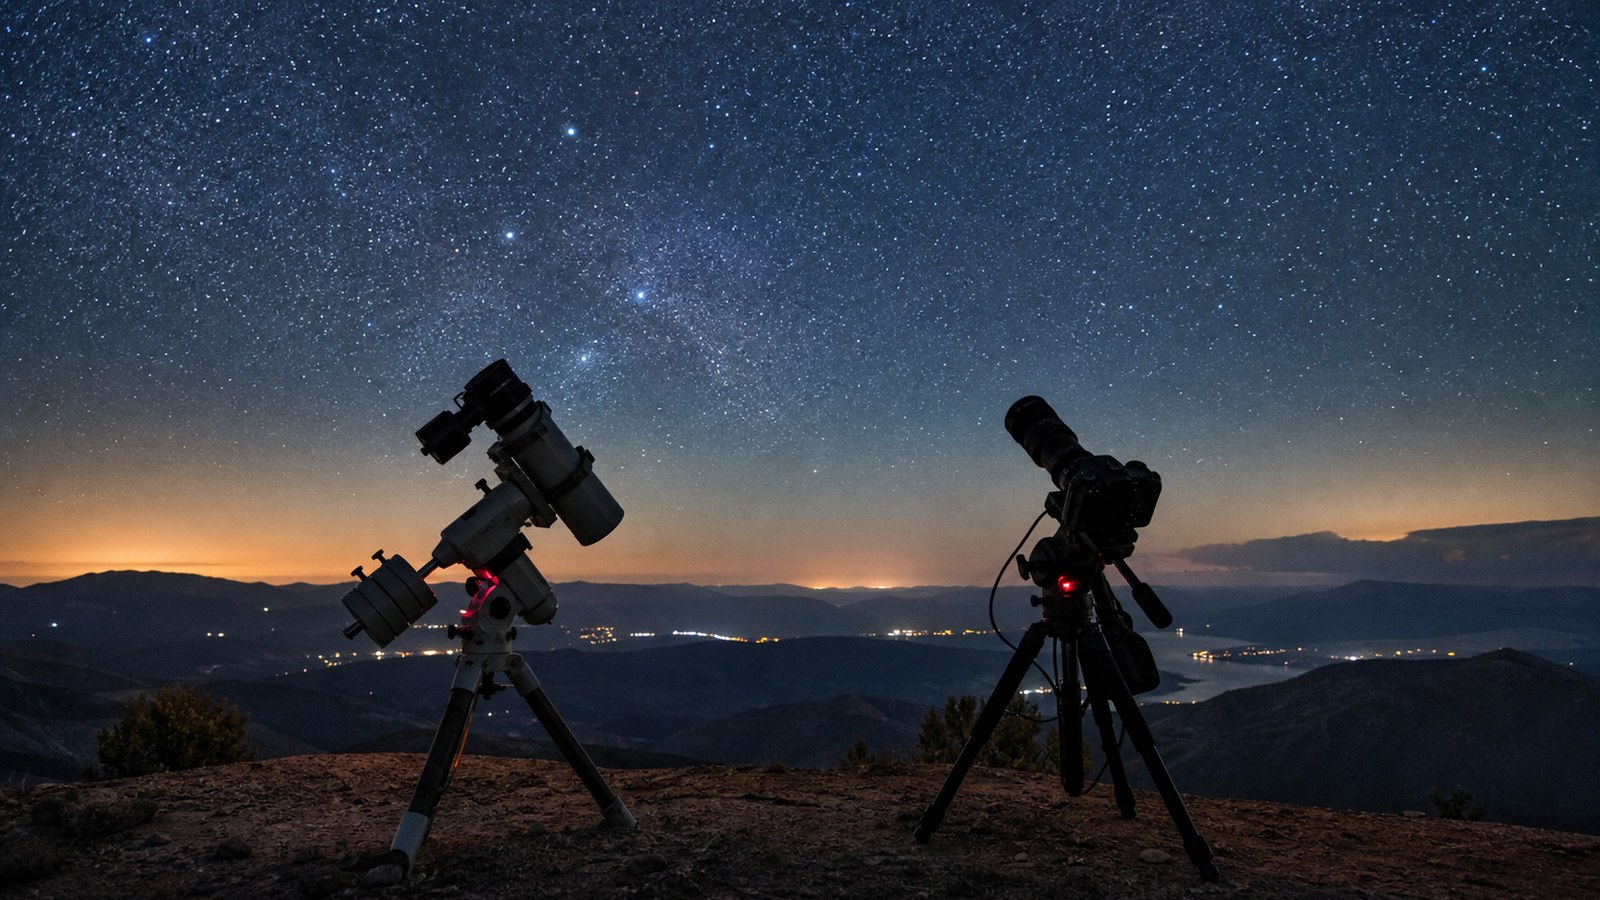
For photographers, the same principles apply with more preparation. A wide lens, sturdy tripod, spare batteries, and manual exposure tests matter, but the scene still depends on darkness and timing. The camera should support the experience rather than consume it. Take a few test frames, confirm focus, and then spend some time simply watching the sky that the camera is trying to record.
Return to the Guide Afterward
For readers who prefer science context, connect the event or target to its source. Meteor showers come from debris streams left by comets or asteroid-like bodies, while Webb targets connect to star formation, galaxies, exoplanets, or ancient light. Knowing the source gives the night a story. The point is not to memorize every technical term, but to understand why this patch of sky is worth attention.
Finally, revisit the guide after the session. The second reading is often more useful because the reader now has a memory to attach to the advice. Details about timing, glare, radiant height, or image processing stop being abstract and become practical. That feedback loop is how a casual skywatcher becomes more confident without losing the simple pleasure of looking up.